Confused about how to start using Google My Business? Well, you’ve landed on the right page!
In our last article, we covered what is Google My Business and how it can help you to grab more business opportunities by controlling and managing your digital presence on the internet. The following article will walk you through the process of creating and verifying your account.
Before moving forward, make sure you have a Google account for your business (and not a personal account). If not, then create one.
Here’s a step-by-step process to create a Google My Business Account easily:
Step 1 :
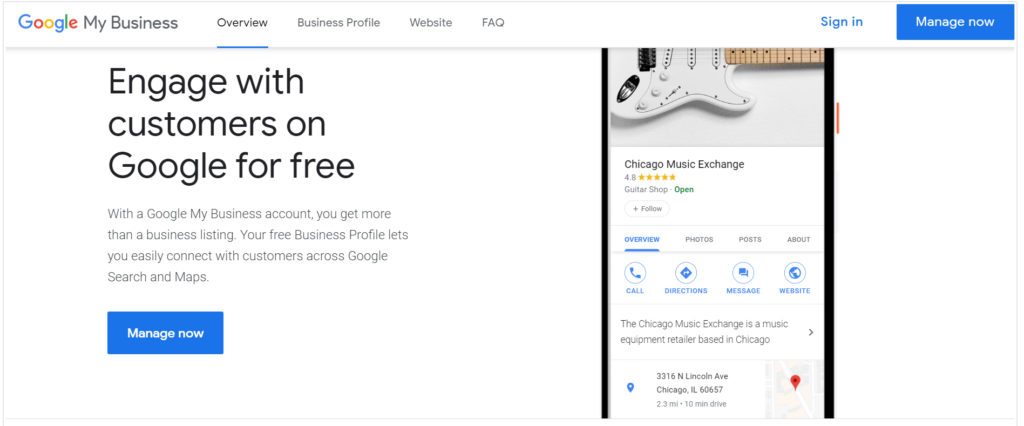
Open the Google My Business page in your browser and click on “Manage Now” at the upper, right-hand corner of your screen. Log in to the Google account you wish to link to your business on Google.
Step 2 :
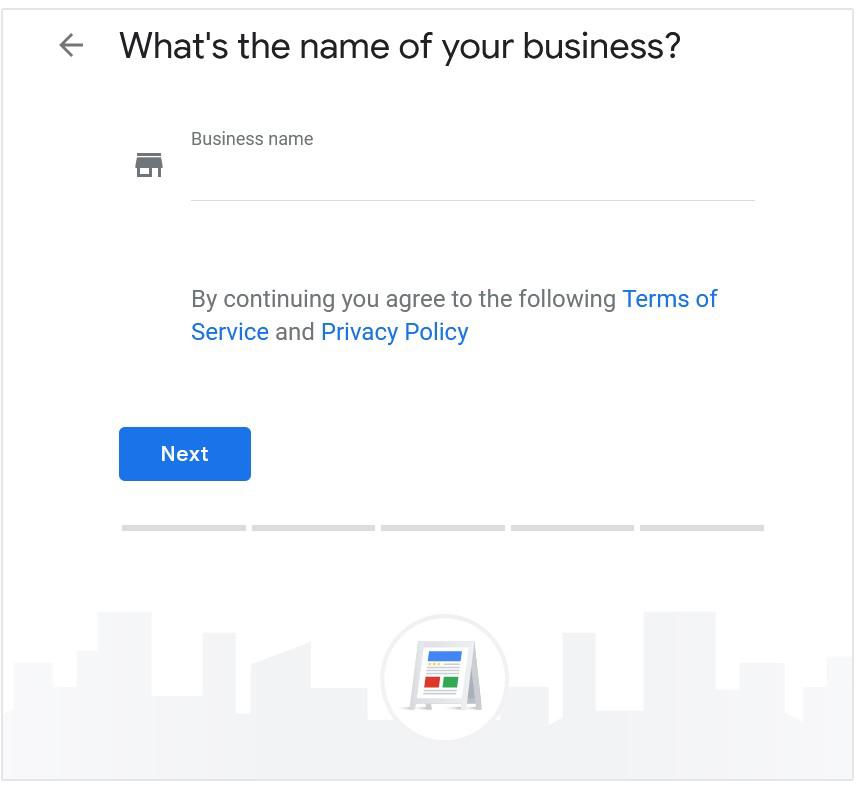
Enter your business name. Your business name may come up from the public records. If it does, then select it from the drop-down menu and click “Next.”
Step 3 :
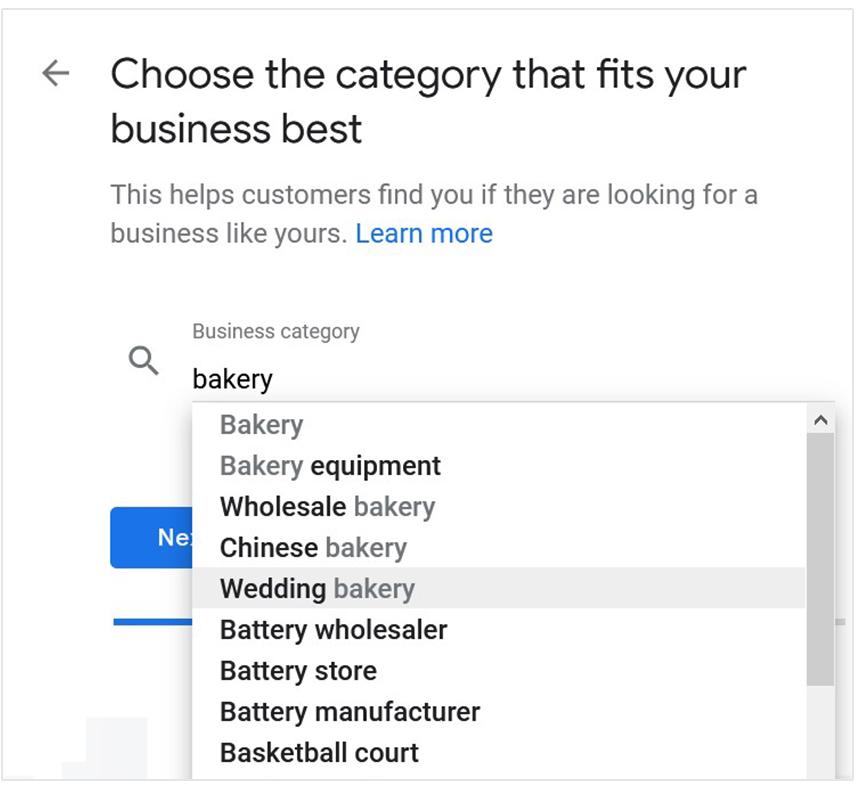
This step is crucial to your business listing. Enter the closest category your business falls into. For instance, sports equipment store, fast food restaurants, specialized clinic, etc. Make sure to choose the most accurate category so that you rank for the correct listing when searched on Google search engine or Maps.
Step 4 :
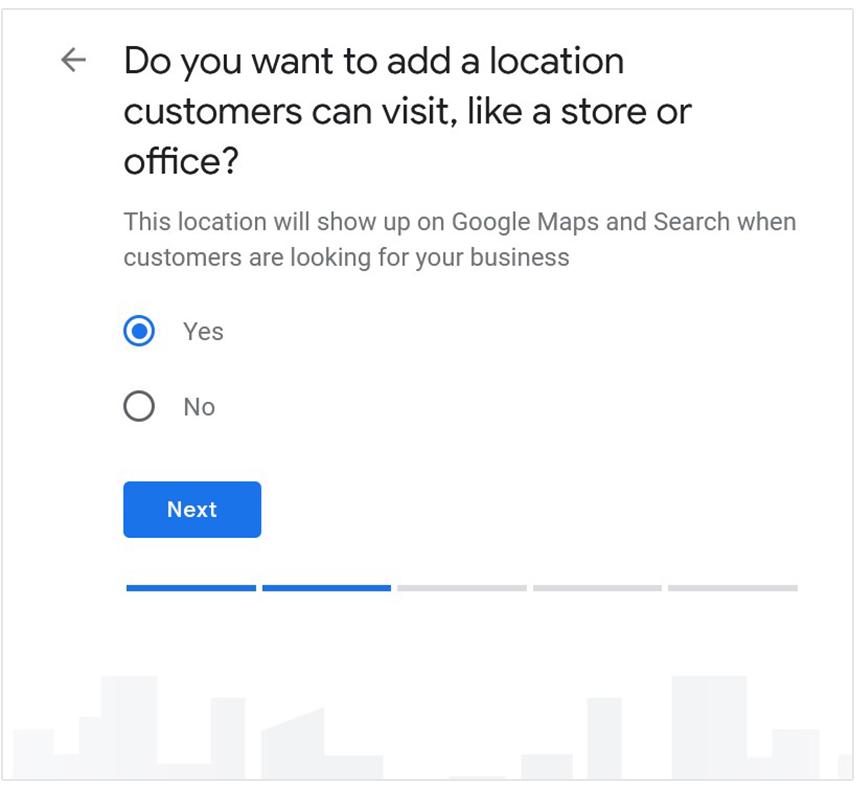
Now, if you have a geographical location such as a store or office, then choose YES and add your address. You can also skip this step if you operate an e-commerce business or an online business by selecting NO.
Step 5 :
If you chose to provide a geographical location then first set it on the map provided and proceed. Also, you can provide the locations of other branches (if you have any) by choosing YES otherwise choose NO.
Alternatively, if you have an online business then choose the region your business is based in and click NEXT.
Step 6 :
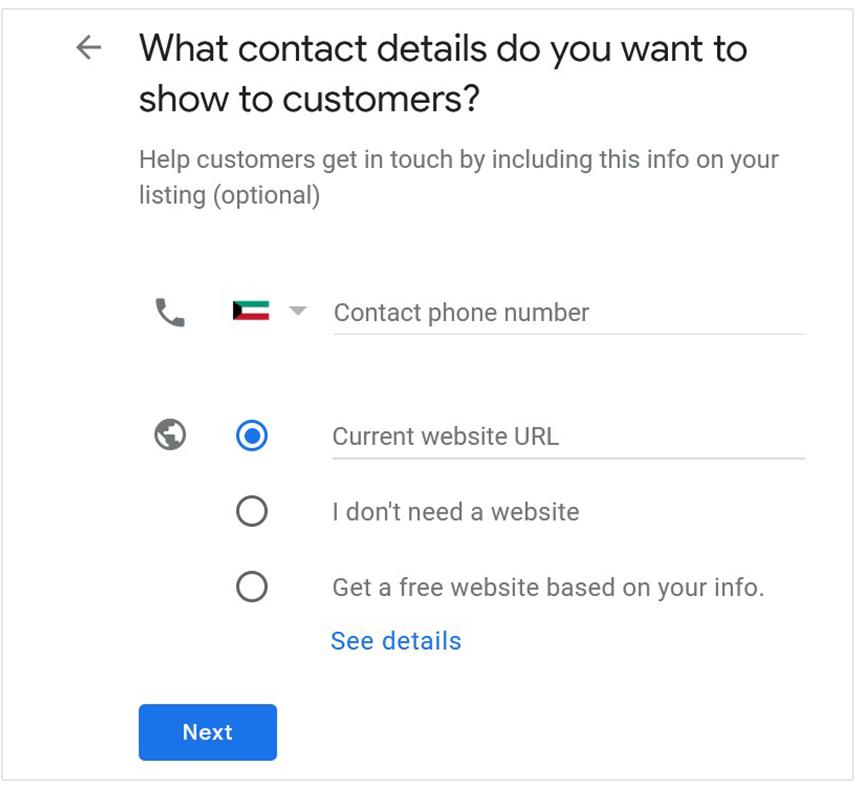
Now, enter your contact information in the respective space such as your contact number and website. This information will be shown beneath your business name in the search results. If you don’t have a website then choose “I don’t need a website” or if you want to create one on Google then select “Get a free website.”
Step 7 :
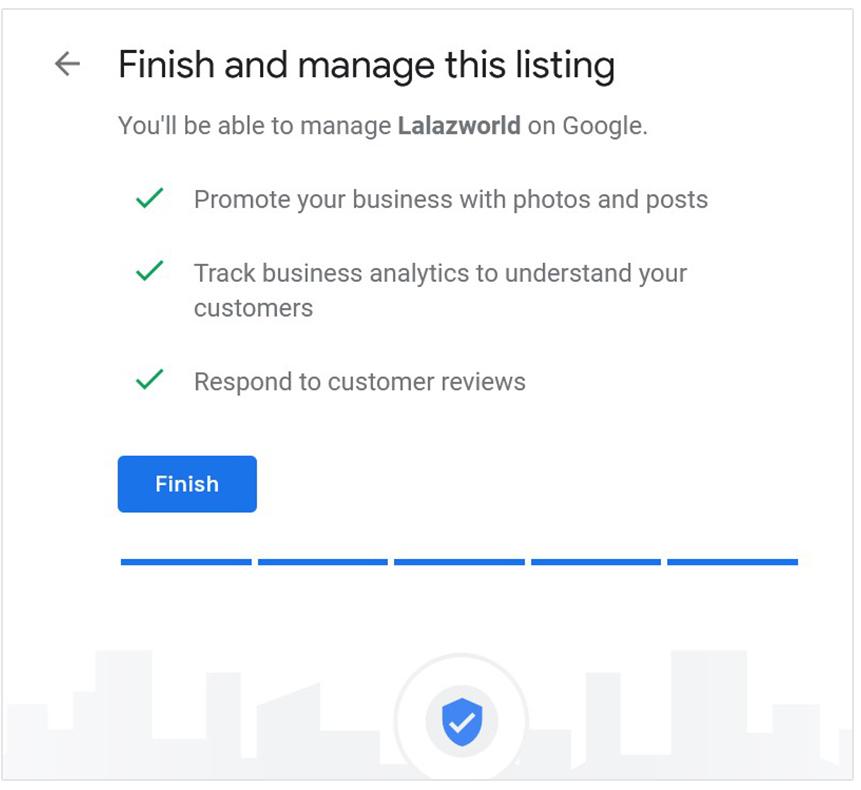
Finally, confirm the registration process by clicking on FINISH.
Step 8 :
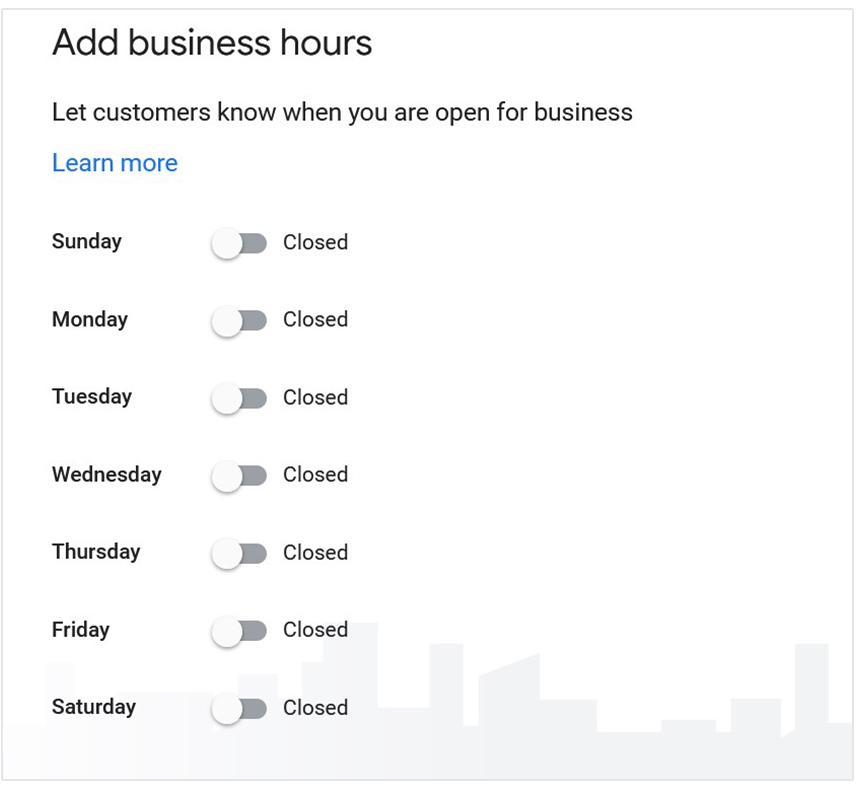
Add your working hours to define your availability.
Step 9 :
The last but most important step is to verify your business. The page will ask you to select a verification method such as verification by regular mail (set as default), e-mail, or phone (options are compatible with certain commercial activities). Choose the one that suits you the best from those that appear. Verification ensures that you actually own the business. Google will send you a verification code, upon receiving it just enter the five-digit code.
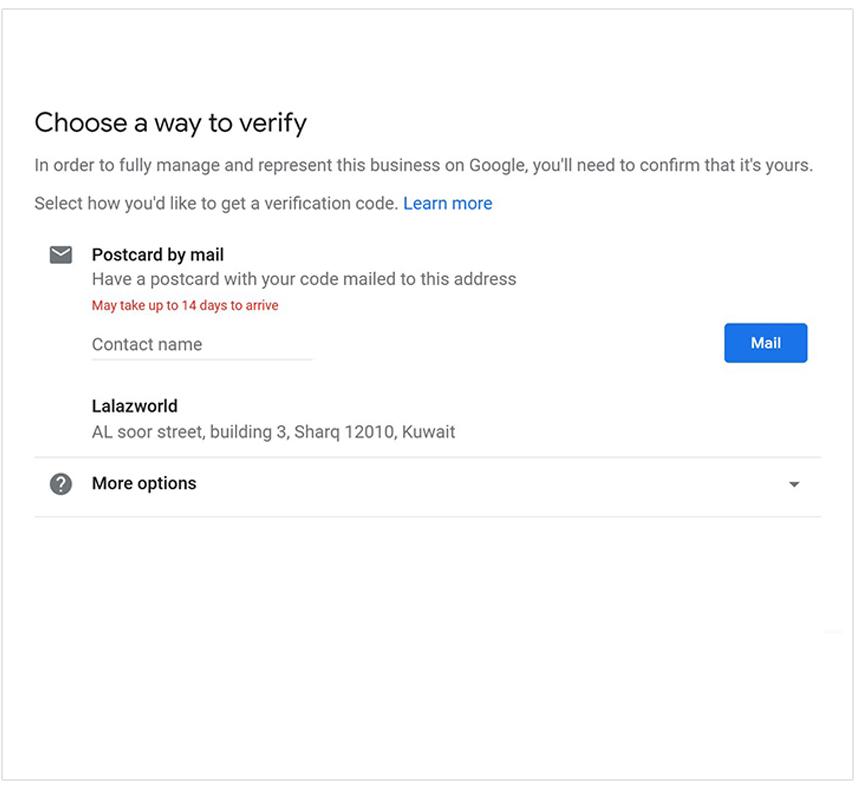
If you wish to verify later, then simply click “Verify later.”
Note – If you want to use all the features of Google My Business then you must verify your account. Unverified accounts will not be able to update their business information or post updates.
Congratulations! You’ve successfully created your Google My Business account. Now, you can easily find your business listed in Google search and Maps.
However, there’s more to it. After creating an account you will also have to set and manage it. Our next article in this series will take you through the process to make it easy.
Meanwhile, if you are facing any issues or have questions about how to create your account on Google My Business then do not hesitate to contact the technical support team of UPayments. We’re always here to help you and your business!
